Cloning Disks
The disk cloning tool will delete all files on the destination volume if you clone to this disk for the first time. Deleting files can take some time. To save your time, you can erase the destination volume using the Disk Utility application beforehand. There is no need to erase the destination disk if you run cloning with the same source and destination disks again because most of the files can be reused.
Notice that on macOS 10.15 and later, there are two commands for cloning in the main menu. The Start Clean Cloning command should be used for the first time (e.g., when you clone to an empty destination). This command formats the destination volume and replicates your disk volume with help of the asr (Apple Software Restore) utility.
The second command Start Cloning is used to update a previously created clone. On systems earlier than macOS 10.15, this command is used for both the initial and repeated cloning.
A disk image can be used as the destination volume. The To drop-down menu lets you choose an existing disk image or create a new one.
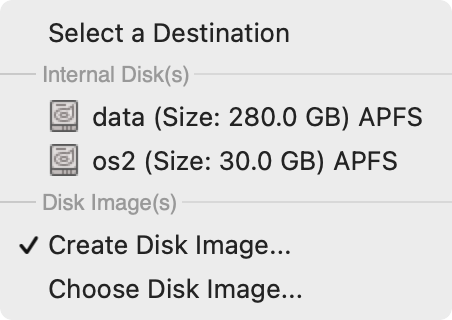
In order to create a disk image, select Create Disk Image… in the drop-down menu. Select location and type in the file name and disk image name. Then set up the maximum size of the disk image and format.