3D Tools and Effects
To create a new material, you can modify a default one. If any of the library materials is similar to what you want to create, start from this predesigned material.
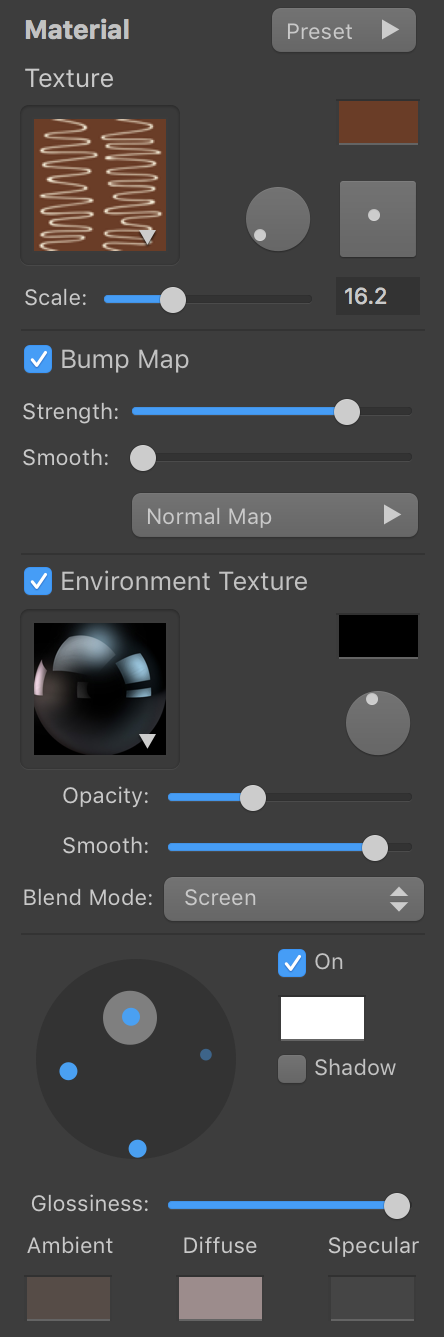
To adjust the material properties, open the Material section in the Inspector.
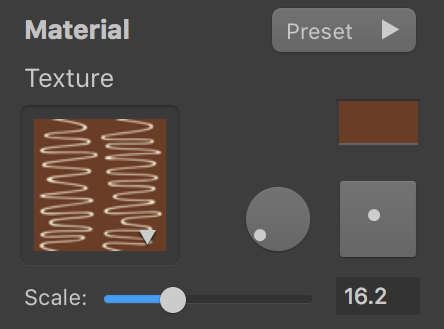
To open the texture library, click on the preview of the current texture. In the texture library, you can choose textures from categories, or select a plain color at the top of the library.
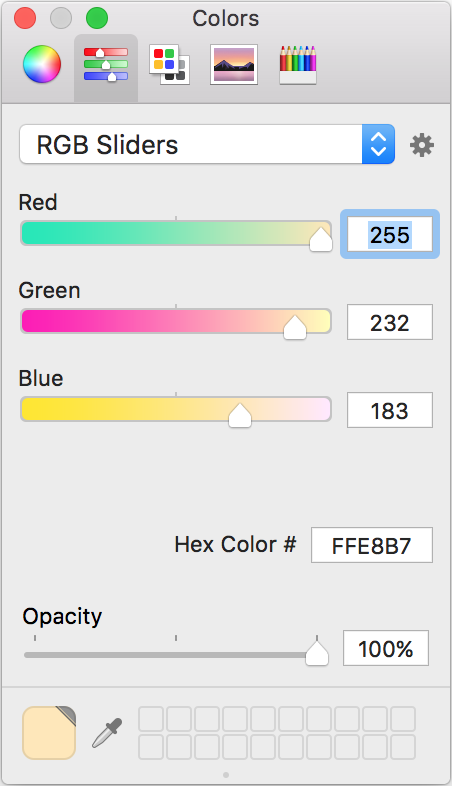
The Color button at the top right corner lets you change texture colors. Its effect is a combination of the Hue, Saturation and Brightness color properties. You can switch the Colors pane to the HSB Sliders mode to be able to adjust the sliders separately.
The round and square controls in the middle change the angle and offset of the texture.
Scale lets you magnify the texture.
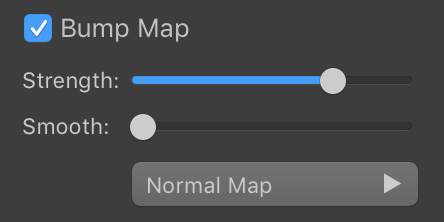
The Bump Map tool adds more volume to the texture details.
Strength controls the amount of roughness created by the tool.
Smooth makes the effect smooth.
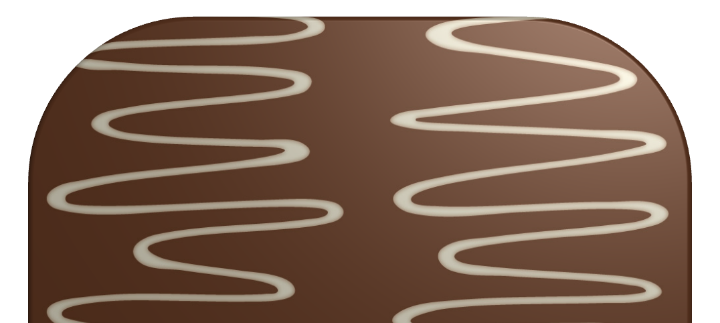
Bump Map off:
Bump Map on:
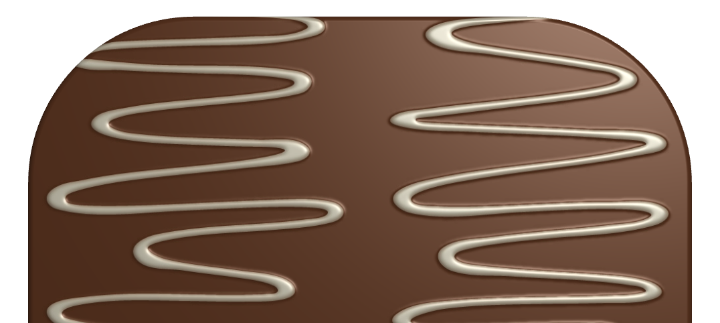
The Bump Map tool requires that a texture has contrast elements. Not all textures can produce a good result with this effect.
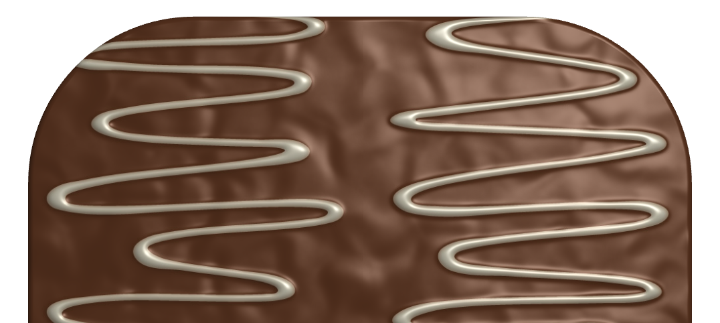
By default, the Bump Map tool uses the texture itself as a bump map. To select a different bump map, choose a texture in the pop-up library of the Bump Map section.
The Environment Texture tool extends the lighting effect created by the Light Sources properties. By applying an environment texture, you can simulate reflexes from particular light sources such as windows.
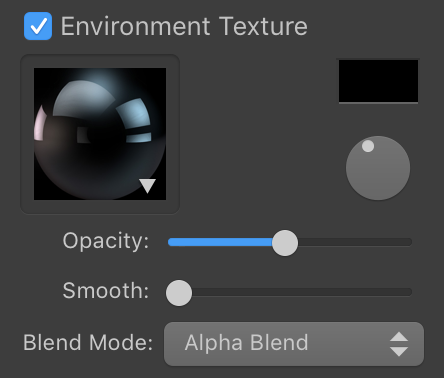
The Color button works the same way as the one in the Texture section.
A round control rotates the texture.
The Opacity parameter changes the amount of the effect applied to the object. This is useful when you need to mix the Environment Texture effect with others.
Smooth is intended to make the object matt or glossy. When you move the slider to the right, the object becomes matt.
The Blend Mode defines how the colors of the main and environment textures mix with colors of other effects.
The program lets you set up four light sources. In the preview, each of them is presented as a circle on a sphere. A blue circle means that the light is turned on, and a gray one indicates that the light is off. Smaller circles show the location of light sources behind the sphere.
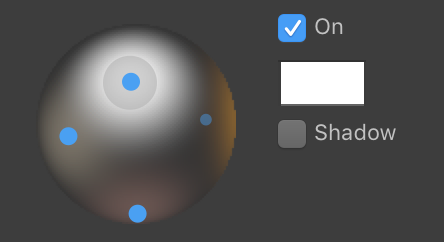
If a light source is on, it casts light on the sphere.
You can choose the light source color in the box to the right from the sphere.
The Shadow option allows object parts to cast shadows on the object itself. Unlike the Shadow effect in the Effects section, this option has no connection to the shadow that is cast on the background or other objects.
This group of material properties is responsible for how lighting affects the object. You should adjust the parameters below together with the light sources.

Glossiness makes the object look more or less glossy.
Ambient, Diffuse and Specular colors let you adjust the look of shadowed and lit parts of the object. It is easier to learn how these colors appear on the object when only one light source is on, a plain color is used as a texture and the Bump Map and Environment Texture tools are deactivated.
Ambient is the object's color when there is no light at all. It can be black, or more often a darker version of the Diffuse color.
Diffuse is the object's color under diffuse light. In many cases, it coincides with the natural color of the object.
The Specular color is used to create a reflection of a direct light source. The more matt the object is, the bigger and less sharp the light spot is. To control this, use the Glossiness slider.
As soon as you are happy with the customized material, you can save it in the Custom category of the material library. To do this, select an object with that material applied, click the Preset button, and then click on plus at the bottom of the material library.
To rename a custom material, double-click on its name.
To delete a custom material, select it in the library and click on minus.