Previous | Next | Contents
Working with Documents
Printing
To print with the default settings, select File > Print (Cmd-P), and then click the Print button.
To print with extended options:
- Select File > Print (Cmd-P) to open the Print dialog. It is typically displayed in the default simple mode.
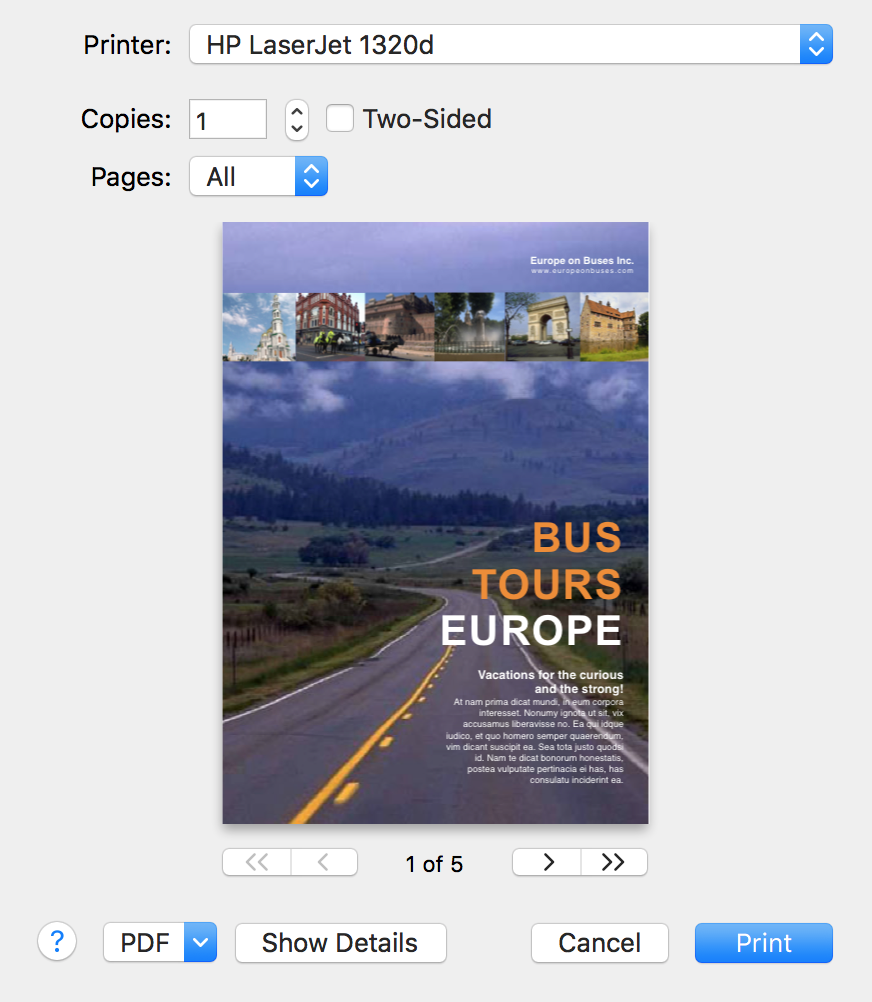
Click the Show Details button to open the advanced print settings.
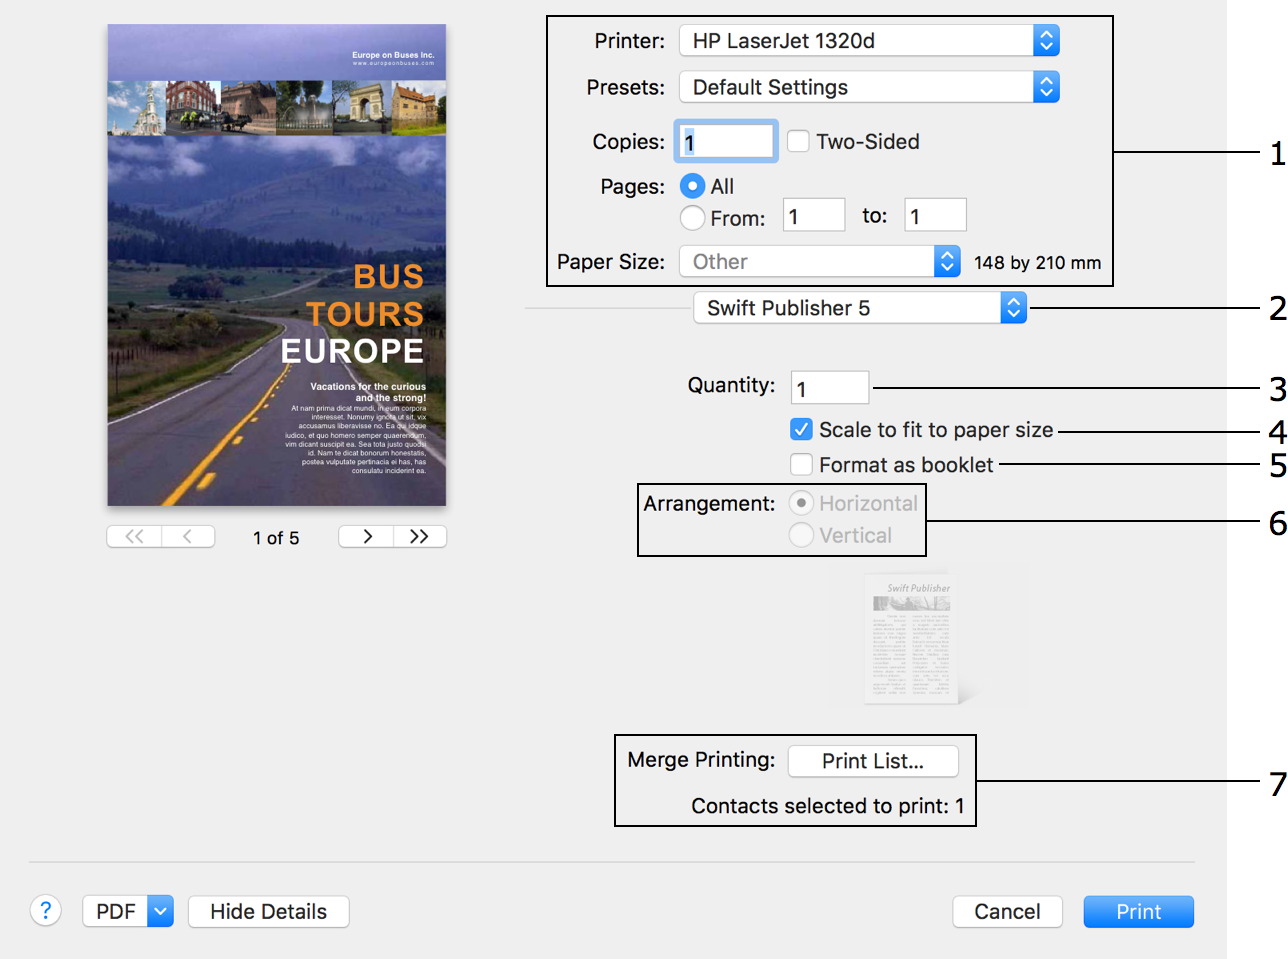
Swift Publisher has its own printing options (2). They are displayed by default.
- Set up the general settings (1). Pay attention to:
• Presets (typically, Default Settings is selected here)
• Paper Size
- In the Swift Publisher section:
• Select Scale to fit paper size (3) if the Paper Size in the Print dialog differs from the Page Size in the Document tab of the Inspector. Normally, this option is deactivated.
• To print a booklet, select the Format as booklet (5) check box. Choose the page orientation (6) of the booklet.
• If you want to use the merge printing feature to print contact information, click the Print List (7) button and select the corresponding contacts.
• Set up the Quantity parameter if your document contains dynamic fields such as Counter or File Data.
- Verify the other print settings provided by the operating system and printer driver. To access these settings, choose the corresponding categories in the drop-down menu (2).
If you want to print on two paper sides using a duplex printer, open the Layout section (2) and set the Two-Sided option to either Long-Edge Binding or Short-Edge Binding.
On a non-duplex printer, open the Paper Handling section (2). Then set Pages to Print to Odd Pages or Even Pages, print one side of all pages, flip paper, and print the second side with the other option selected.
- Make sure that the preview displays your document correctly.
- Click the Print button.
The Copies and Quantity settings produce the same result when your document doesn't contain dynamic fields and barcodes with dynamic values. That is, Quantity defines the number of copies to be printed as Copies does. The situation changes if you add a Counter or File Data text field, or a barcode whose data is imported from a file or generated by a counter. In this case, Copies still defines how many exact copies to print, while Quantity is the number of versions of the document where the dynamic fields and barcodes have a new value in each version.
Merge Printing
If you added one or several Address Fields to your document, you can select one or multiple contacts whose information should be inserted into those fields. To do this, click on the Print List button. The program can import contact information from Apple Contacts.
Selecting one more person makes the program to print one more copy of your document (e.g one more copy of the whole booklet). The number of selected persons is indicated below the Print List button. To calculate the total number of copies, multiply the number of selected contacts by the Quantity.
To make sure that automatically inserted data fit the given space, in the Print dialog, click on the PDF button and select Open PDF in Preview.
Previous | Next | Top | Contents