| www.belightsoft.com/liveinterior | Start of Help | Index > Working with Projects |
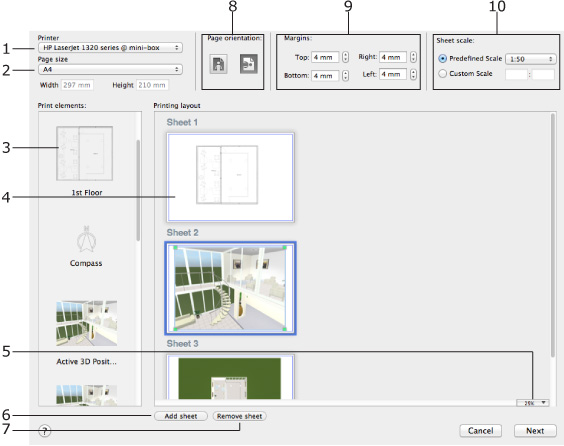
To print:
1 – Select the printer you are going to use. The list of compatible paper depends on the selected printer.
2 – Select a paper format. You can either choose a standard paper size or type in custom dimensions. All sheets have the same size.
3 – The thumbnails of all available 3D views and floor plans. To print, you need to drag them onto the sheets to the right. Each floor plan corresponds to one of the floors in your project. Each 3D view corresponds to one of cameras. If you need more 3D views, add more cameras.
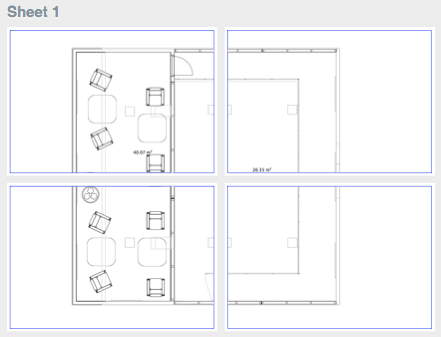
4 – These are the sheets where you compose the printing layout. You can move the placed graphics around using the mouse. To resize a 3D view, select it and drag one of corner handles. To resize a floor plan on the selected sheet, change its Sheet scale. If needed, the program automatically increases the sheet size so that its content is laid out over several pages. After printing, you can glue the parts together.
5 – The zoom for the sheet preview. Additionally, you can right-click on the preview area and choose one of zoom options.
6 – Add new sheets.
7 – Remove the selected sheet. You cannot delete the last sheet.
8 – Select the page orientation here. All sheets have the same orientation.
9 – Margins help you define the amount of blank space along the page sides. Certain printers cannot print near the edges of the paper. You may need to increase the margins to meet the capabilities of your printer. By setting up margins, you can insure that no graphics appear in the unprintable area. All sheets have the same margins.
10 – Sheet scale controls let you set up the scale for floor plans on any sheet individually.